Self-assembly information.

Blanks* and printed domes are supplied as seperate items.
The domes are on sheets and have a pressure sensitive adhesive backing which forms a permanent bond when applied to a surface.

*On this information page we refer to badges but the same instructions applies for all emblematic components we supply - cufflinks, keyrings, tieslides, medals, charms, etc..
View all products


Assembly.

Very simple and takes just a few seconds for each badge.
First make sure your hands are clean of grease or make-up and that your working surface is clean too. This will ensure no fingermarks are left on your badges during assembly.
To assemble, peel a dome off its backing sheet and put into the recess in the badge blank. Try to avoid touching the sticky backing of the dome as this may harm its adhesion qualities.
Apply slight downward pressure on the dome to help the adhesion to bond. Depending on the badge type, you may need to take care to 'line up' the dome with the badge fitting.

If you are not happy with your initial alignment or want to make an adjustment, you can carefully prise the dome back out using a scalpel, knife or similar sharp flat instrument. Prise out and re-apply.
 
Badges with printed domes


The adhesive layer will now start to form a permanent bond between the printed dome and the surface of the metal badge blank
which becomes stronger over the next few hours and is at full strength after 24 hours.
If you have any questions about self-assembly, please email us [email protected]. We are happy to offer help and advice.

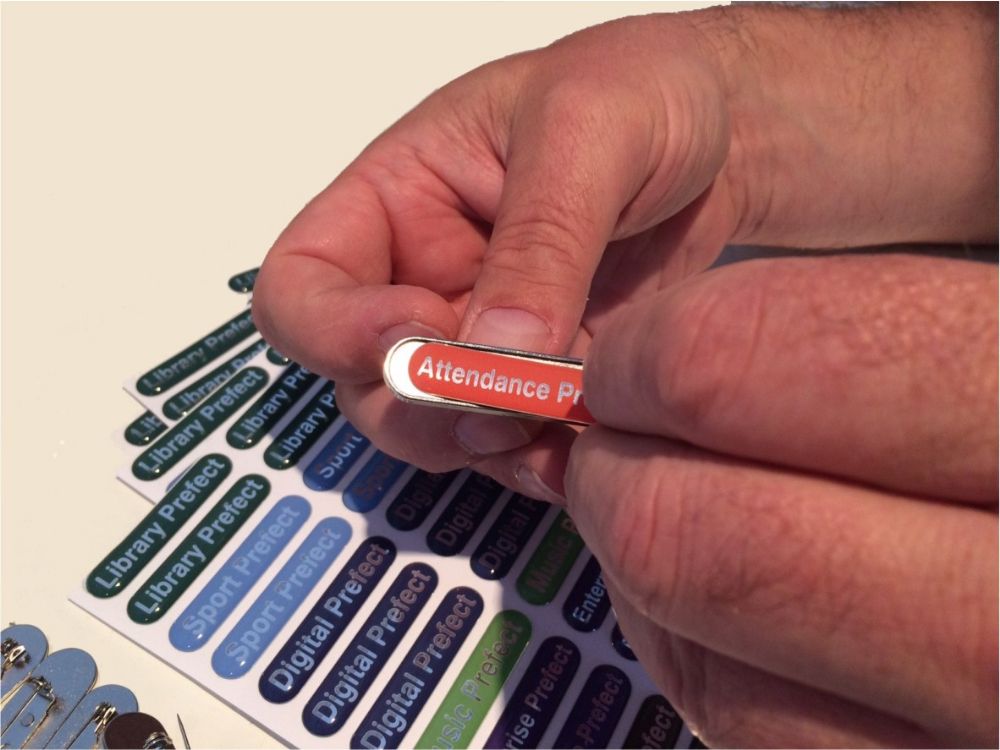
Ready to wear badges.

If you prefer, we can supply badges complete including assembly. Choose option 'Ready to wear' under 'assembly options'
when placing your order online. Allow an extra 2-4 working days for delivery of your badges for this option.
 

Mailing List

Unsuccessful - please try again

Thank You

Thanks for subscribing to our mailing list.

Online - Start Chat?

Your name *


Cancel